Have you been on hols Ian, you have not posted for a while?

Have you been on hols Ian, you have not posted for a while?
Work before dinner, the front brake pipes are all in now, and yes the long pipe from the bulkhead T to the crossmember T was quite difficult to get right first time.

Last edited by Blackpopracing; 21-08-25 at 10:11 PM.
Every man dies, not every man really lives.
http://www.hotrodphotos.co.uk My Intro My Ride
http://www.case-design.co.uk
Had my dinner & carried on
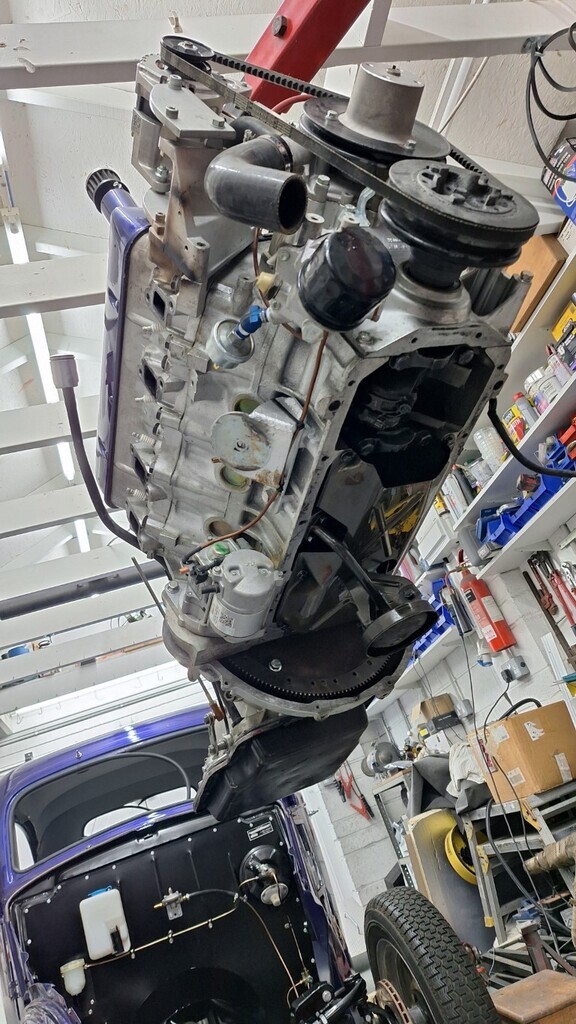
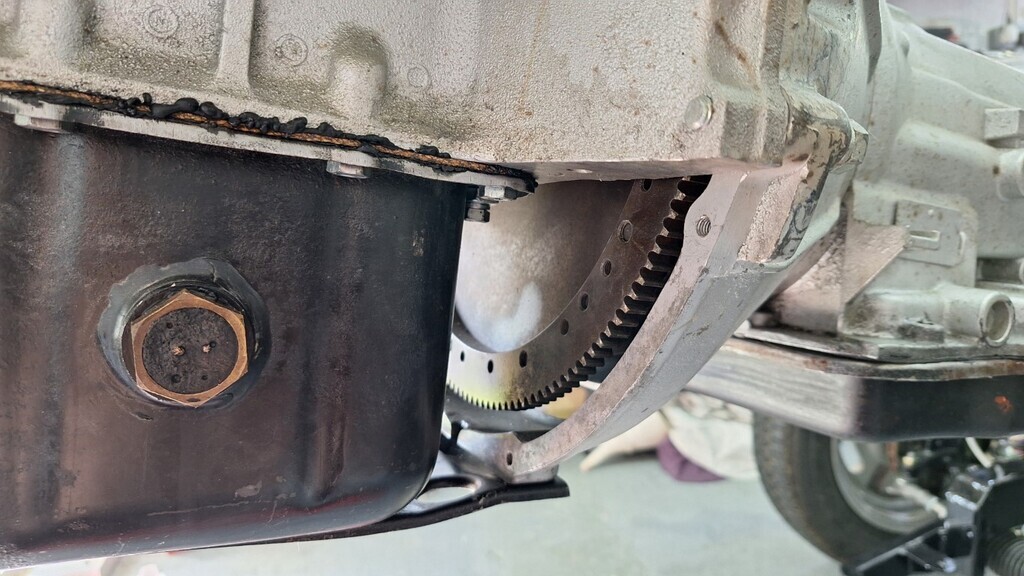
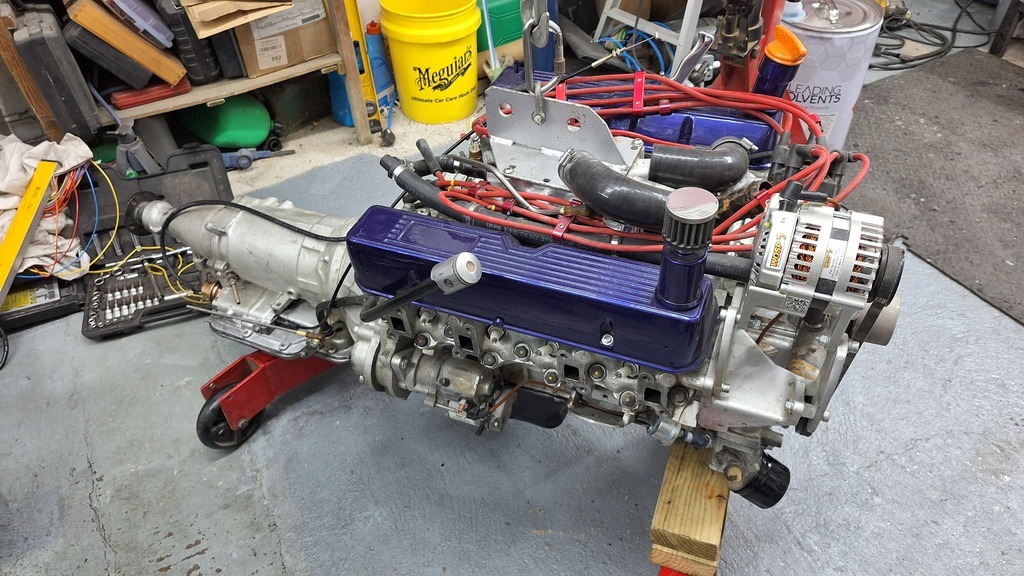
After a bit of a tidy up and clean I started on the engine. I had been waiting for the engine & gearbox sump gaskets to arrive - they came today so it was time to address the mangled sump. For once this was not Car SOS's fault - I suspect someone in the past had jacked it up under the sump which had caved the side in where the oil drain plug is - so it would never fully drain the oil.
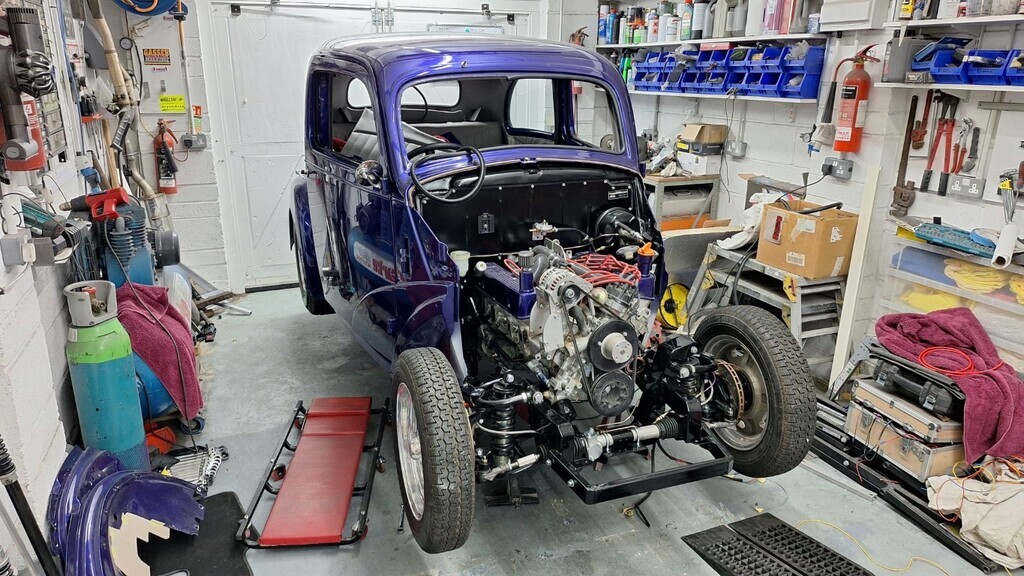
Car SOS did have the sump off, so they could have fixed it like I am about to. Engine raised to a reasonable hieght to work on - it was lowered again after the sump came off.
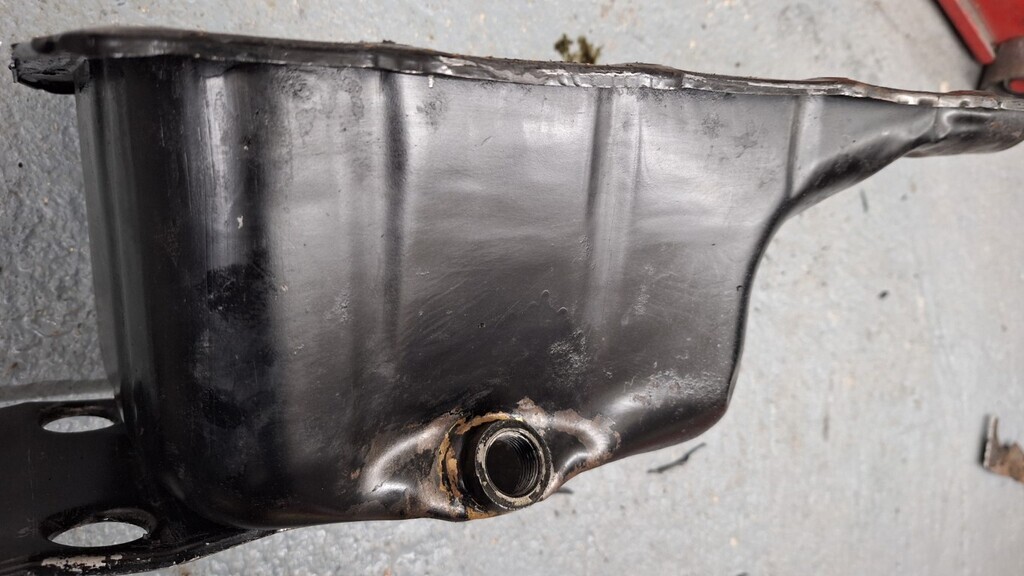
As you can see, the side is kicked in badly.
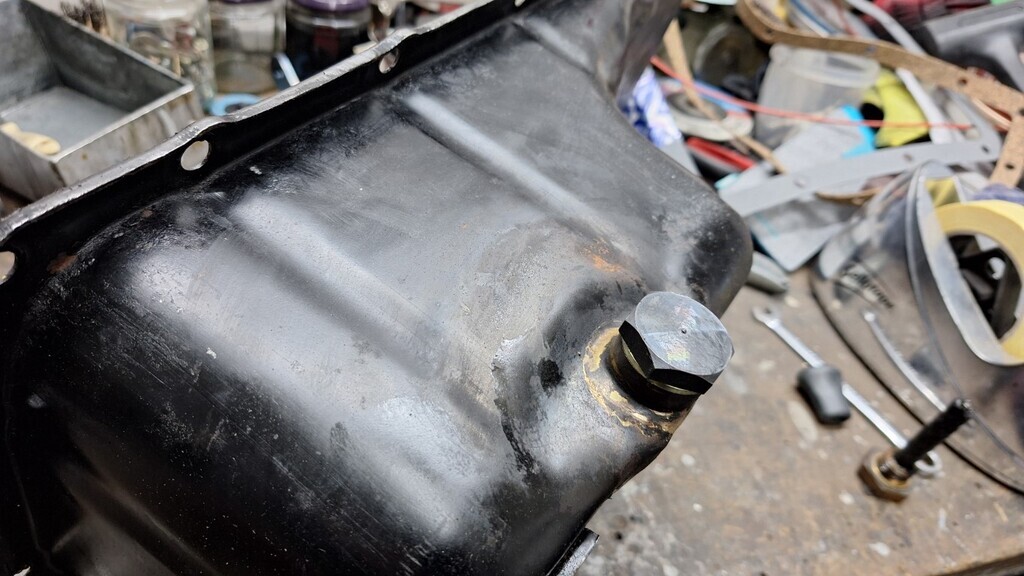
Carefully heating it with the propane torch (I did not want to melt the braze) and putting a bar through the sump plug hole and levering it carefully saw it mostly flat again, some more heating and a BFH and a dolly got the bottom fairly flat as well.
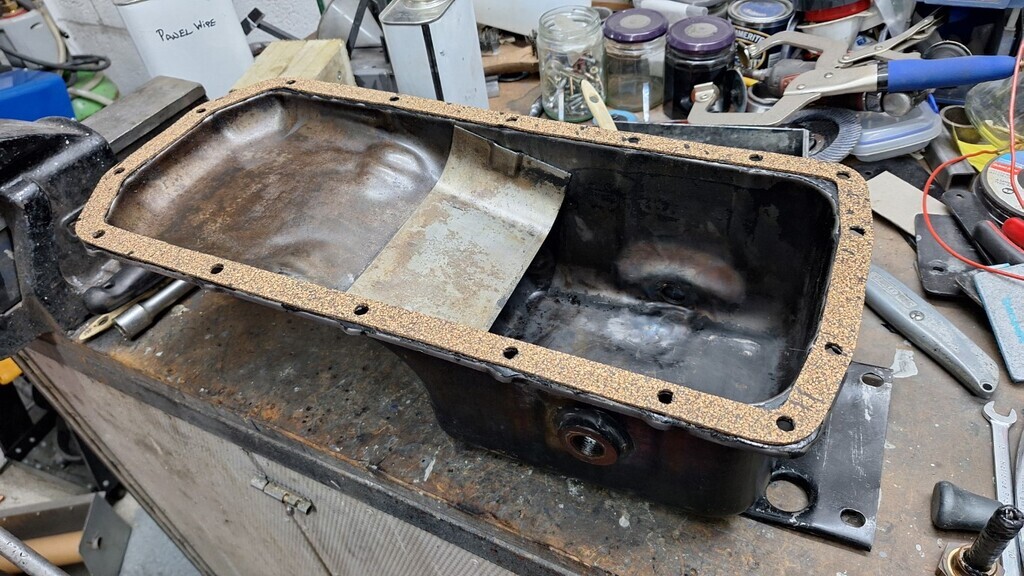
The flanges were quite bad, a lot of hammer work was needed to get them all flat & level again, with the bolt hole edges dressed down with a ball bearing. The gasket is being bonded on overnight with gasket adhesive to stop it moving around, and will also be glued to the engine block.
Last edited by Blackpopracing; 21-08-25 at 10:13 PM.
Every man dies, not every man really lives.
http://www.hotrodphotos.co.uk My Intro My Ride
http://www.case-design.co.uk


Nice work Mark, she's coming on well. That's a common problem on the sump so handy for others that you've explained the best way to tackle it mate.
Cheers Tim W
Sent from my M2103K19G using NSRA mobile app
I've always used rtv on the sump gasket and fitted it in one go. But i only screw it up finger tight to get an even seal. Then torque down the following morning
Sent from my SM-A515F using NSRA mobile app
John,
I bought a modern Hylomar and i expected it to be the normal blue stuff, but this is black and very similar in texture to tiger seal. It actually seems far better stuff so I have high hopes it will seal really well. I'm less fond of RTV for sumps etc as it can squidge out of the sides.
Every man dies, not every man really lives.
http://www.hotrodphotos.co.uk My Intro My Ride
http://www.case-design.co.uk

i've also found with cork gaskets the rtv is so slippery (til set) the gasket squidges out of the sides and splits.Originally Posted by Blackpopracing

neil.
This is why i let it set off under low pressure too keep it contained
Sent from my SM-A515F using NSRA mobile app
I put a couple of studs in my block to sump face, it makes putting the sump on a lot easier when laying underneath it !
loving your work and detail
No holiday yet, I did the "Race the waves" event and been too busy to touch the Morris.
All will become clear soon.
Thanks for caring!!
I may live in East London, I may have a number plate that reads "Chopt",
but I do NOT use 6" wheel spacers!
last nights progress was this.
It does not look much does it? Sump is now on for keeps and I spend a wonderful time taking the sump off the gearbox to access the kickdown cable fixing with the resulting mess that causes without a drain plug.
Only to find (after a lot of internet searching) that the cable can be changed externally
Oh well, I cleaned the sump out and the servo housing, so its all spotless in there now. I'd guess that the gearbox was also overfilled, as I got over 4 litres out of it and the converter is still full. Recommended approx amount is 3.5 litres and overfilling it causes aeration of the fluid with the resultant wearing of the bands.
This was the only evening so far where working on it was not a lot of fun.
Last edited by Blackpopracing; 21-08-25 at 10:16 PM.
Every man dies, not every man really lives.
http://www.hotrodphotos.co.uk My Intro My Ride
http://www.case-design.co.uk
Andy & Kim came over tonight to drop the new paint off and also to have a look at the car. Andy is very happy
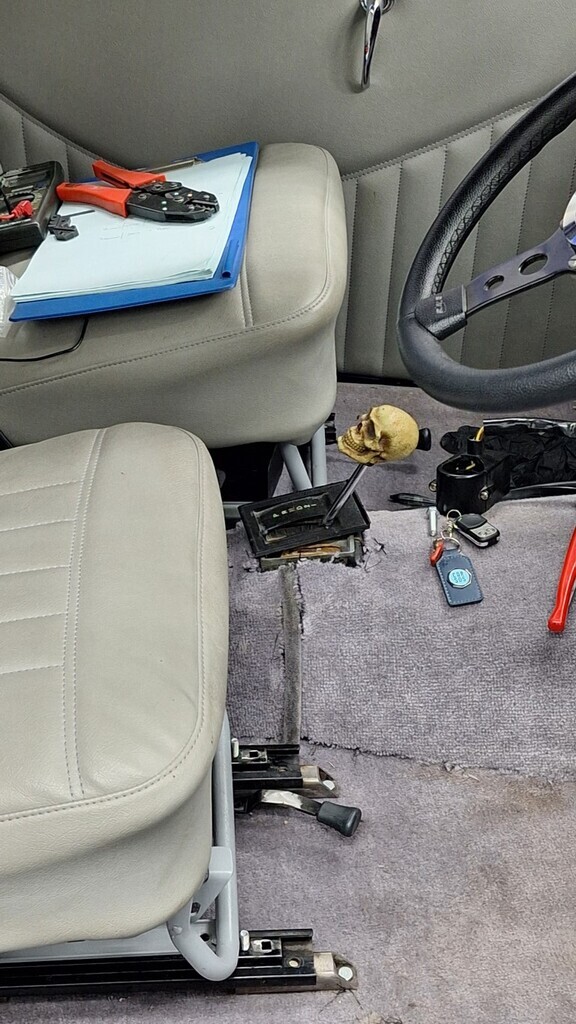
Seats.
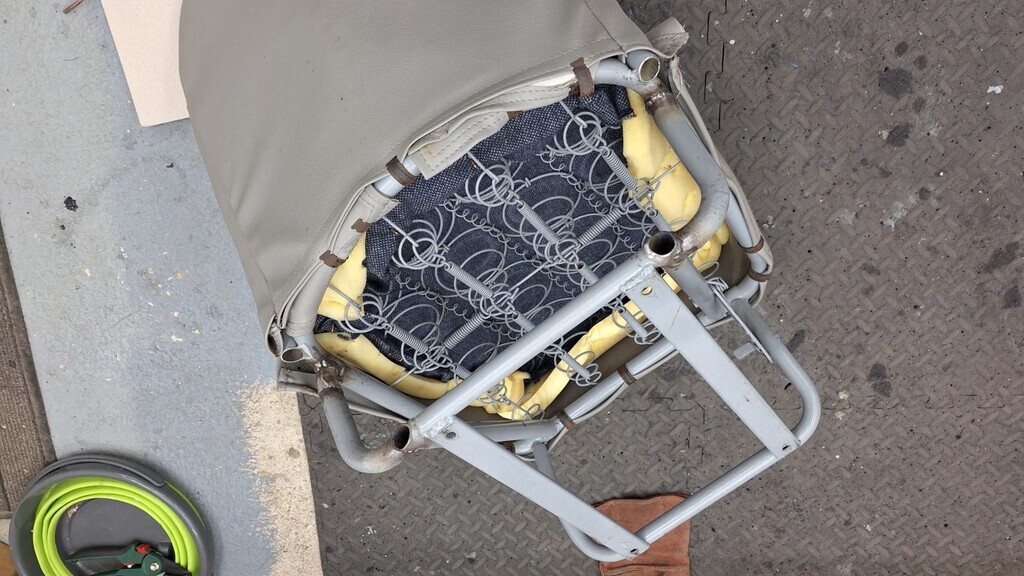
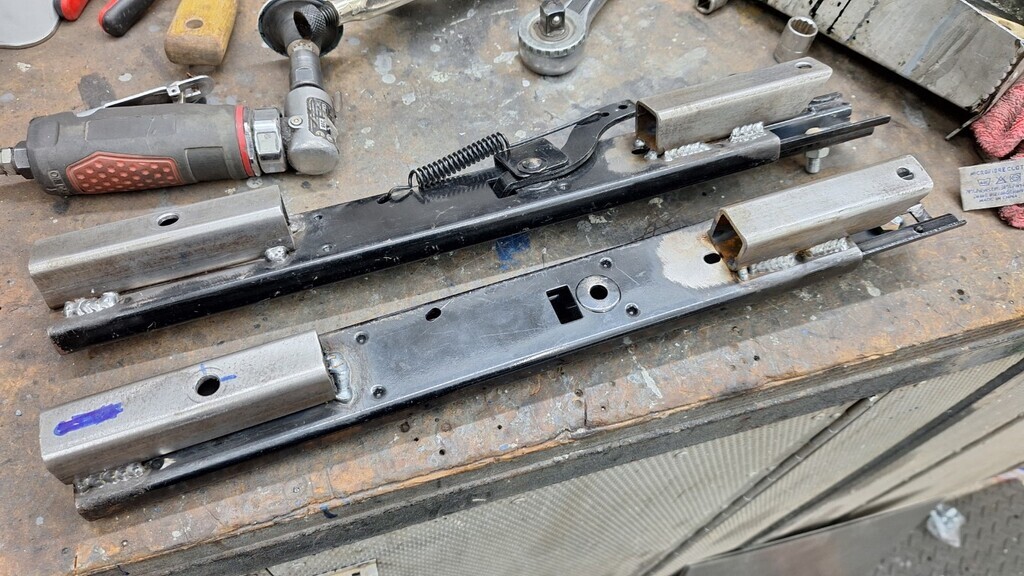
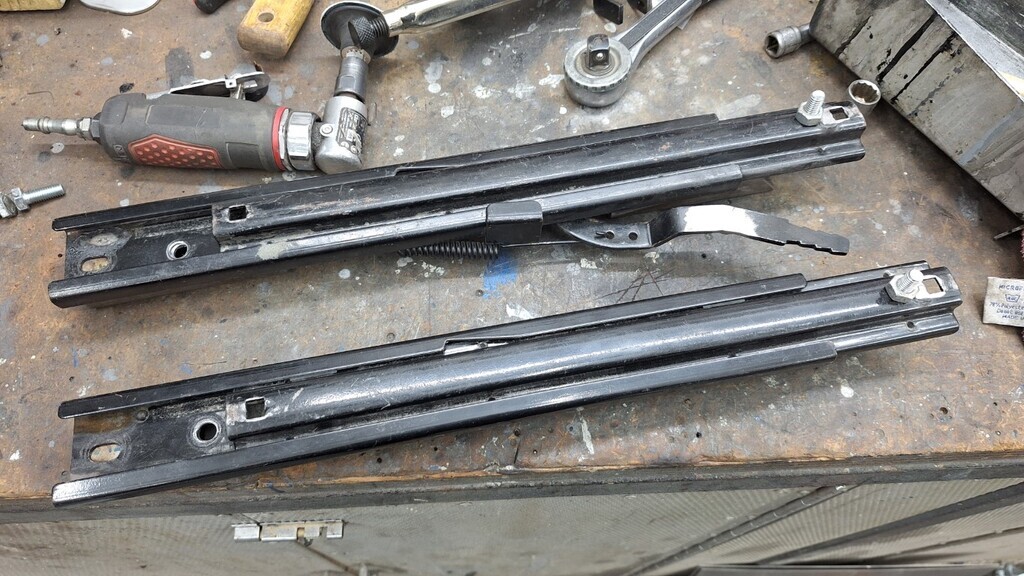
As previously mentioned the drivers seat is just too near the pedals and the seat adjuster sticks out so far it gets in the way of your feet. So........
the rear of the seat frame got chopped off and repositioned and very carefully welded back on again each side a bit further forwards. This involved a lot of careful clamping of my spark blankets around the frame to cover all of the seat material, tricky, but it all came out unscathed.

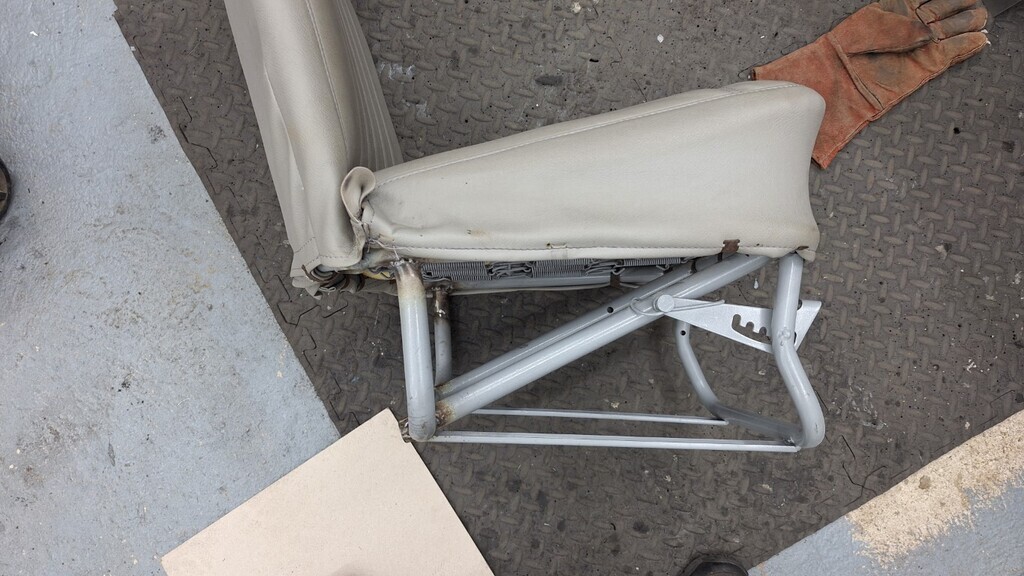
The seat runners were bolted to the floor with some 10mm nuts as 'spacers' to stop the adjuster being crushed into the carpet (which it still was).
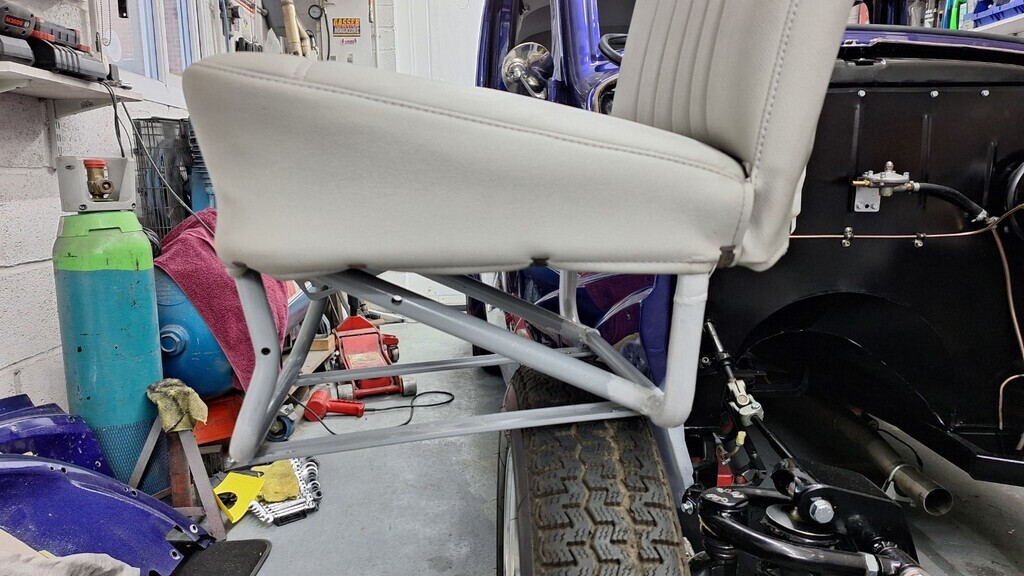
I found some 25x25x3mm wall tube in my stock bin and welded it to each end to raise the seat up enough for it to all work properly. The adjuster also lost about 4" of length. I've welded 2 bolts in as studs so far, but ran out of time for the other 2.
The end result is the drivers seat can now move back 4" more than before, which is much better for the pedal position, but the steering wheel is a bit of a reach (if seat is in the most rearward position). A deeper dish wheel or a spacer would remedy this though.
Last edited by Blackpopracing; 21-08-25 at 10:19 PM.
Every man dies, not every man really lives.
http://www.hotrodphotos.co.uk My Intro My Ride
http://www.case-design.co.uk
How about a quick release for the wheel ? Should be about 30mm closer and a good security fitting ?
Sent from my SM-A515F using NSRA mobile app
That is overkill really John.
Andy does not like The wheel fitted so if there is enough money left at the end then a cheap deeper dish one would be something to aim for.
I'm not sure if the current wheel is bent or of the steering boss is not true, but the wheel wobbles as it's turned. I'll pop the boss off and take it to a a friend (Big Rob) who can pop it on his lathe and check it.
Every man dies, not every man really lives.
http://www.hotrodphotos.co.uk My Intro My Ride
http://www.case-design.co.uk
I got a couple of hours in after work today. Seat is now painted - epoxy primer is almost the same colour as the paint on the seat frame.
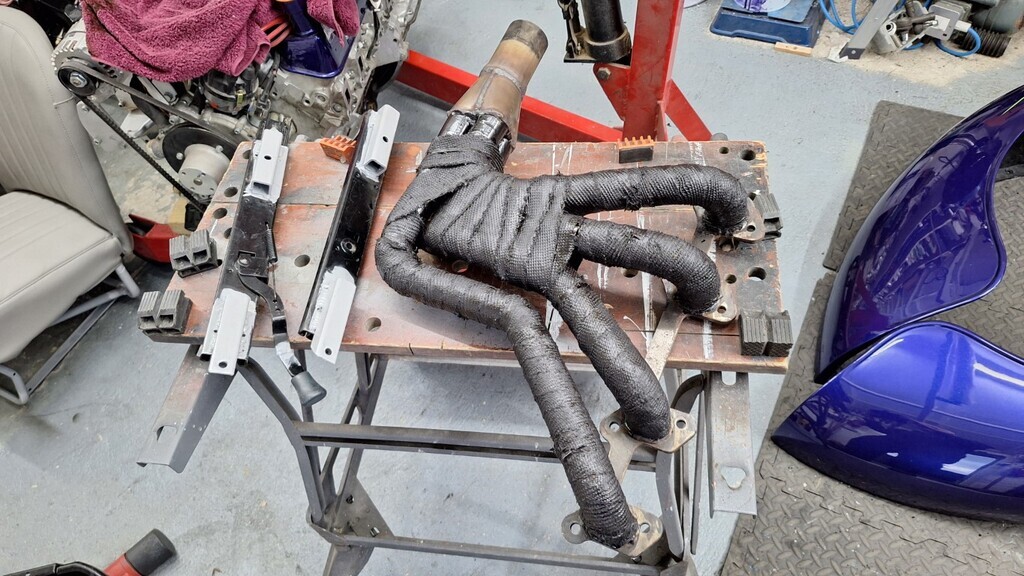
And a job I knew would be unpleasant, re-wrapping the headers. My arms really itch now, even after a long showerI should have remembered to tape up my sleeves to the gloves.
They are not the easiest headers to wrap, combined with using the wrap that they had torn and it being used made it twice as hard. I've exhausted* my stock of stainless wrap ties as well. They are now painted in high temp paint, partly to protect the wrap but also as it seals it up & reduces the fraying.
Seat runners are also primed on the bare metal parts, ready for spraying tomorrow.
* see what I did there
Last edited by Blackpopracing; 21-08-25 at 10:21 PM.
Every man dies, not every man really lives.
http://www.hotrodphotos.co.uk My Intro My Ride
http://www.case-design.co.uk
Good job ...
Sent from my SM-A515F using NSRA mobile app
well today was a little frustrating.
It started well with the first job of painting the seat runners and a couple of other bits in satin black.
Then it was time to put the engine back in (not for keeps) to see how everything fits. Steering is tight for clearance but it all goes in ok. Steering is still remarkably light considering the engine is now back in there
But before the engine went back in I noticed the cover plate for the bellhousing was missing, so it got templated with cardboard;
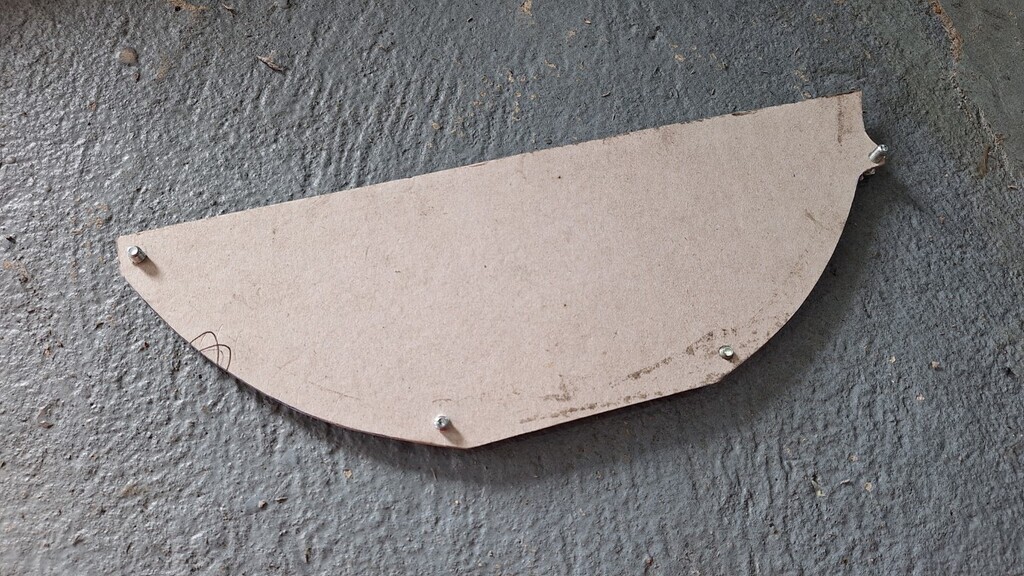
Which will get made from 2mm ally next week.
Once the engine was back in it was time to sort the shifter linkage. Some of you might remember I had made the bits for this some time back, but they needed final fettleing once the gearbox was back in its home. This took a couple of hours and ended up needing the gearbox selector arm shortening 5mm to match the shifter throw.
With it all working nicely under the car it got tack welded together and then I got in the car to check it worked properly..........errr......no
Hmmm......have to think on that some.
Last edited by Blackpopracing; 21-08-25 at 10:24 PM.
Every man dies, not every man really lives.
http://www.hotrodphotos.co.uk My Intro My Ride
http://www.case-design.co.uk

No man is born knowing it all but many try to give that impression . I've known Mark many many years and watched his work steadily improve to this level so very well done mate.
Now, the 'rodshop' involved...HMMMM. If I'm correct they have a bit of a rep for very varying standards of work that come out of it which seem very dependent on which member of staff actually does the job. People talk to me because I am very discrete and don't break confidences.
Galations 6:7
Thanks for the compliment Kev, appreciated. I just try to do the best job I can.
Every man dies, not every man really lives.
http://www.hotrodphotos.co.uk My Intro My Ride
http://www.case-design.co.uk
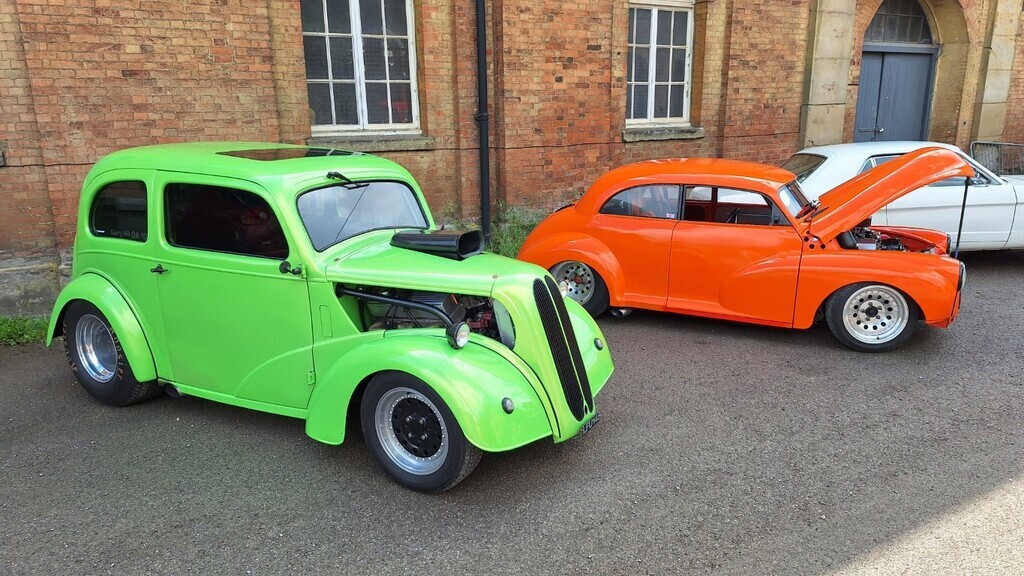
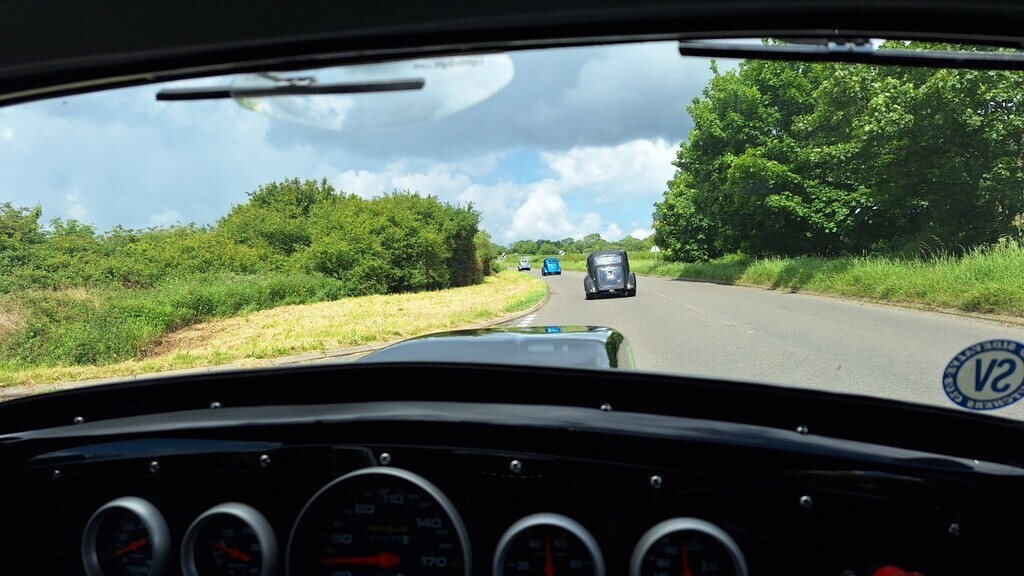
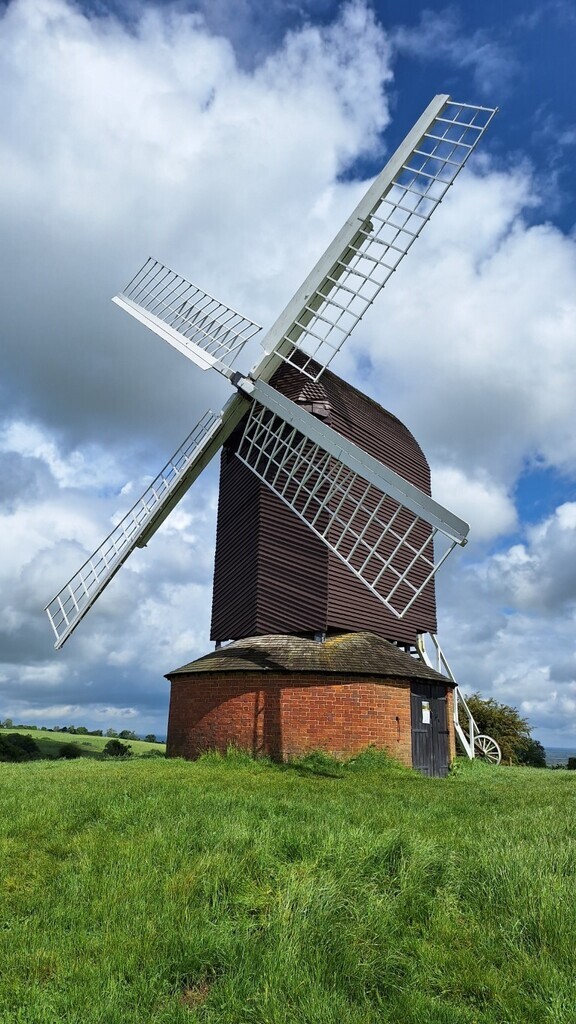
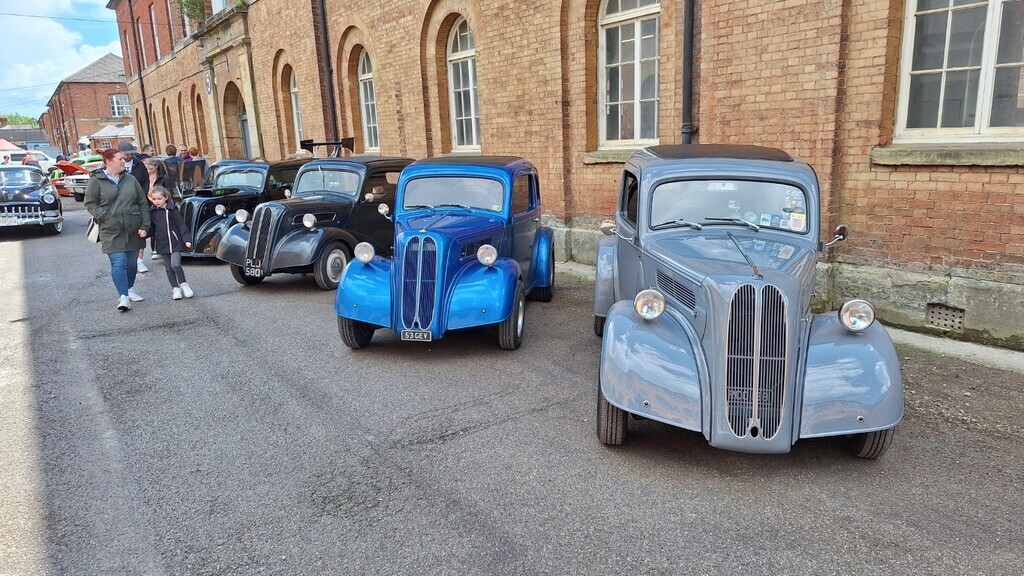
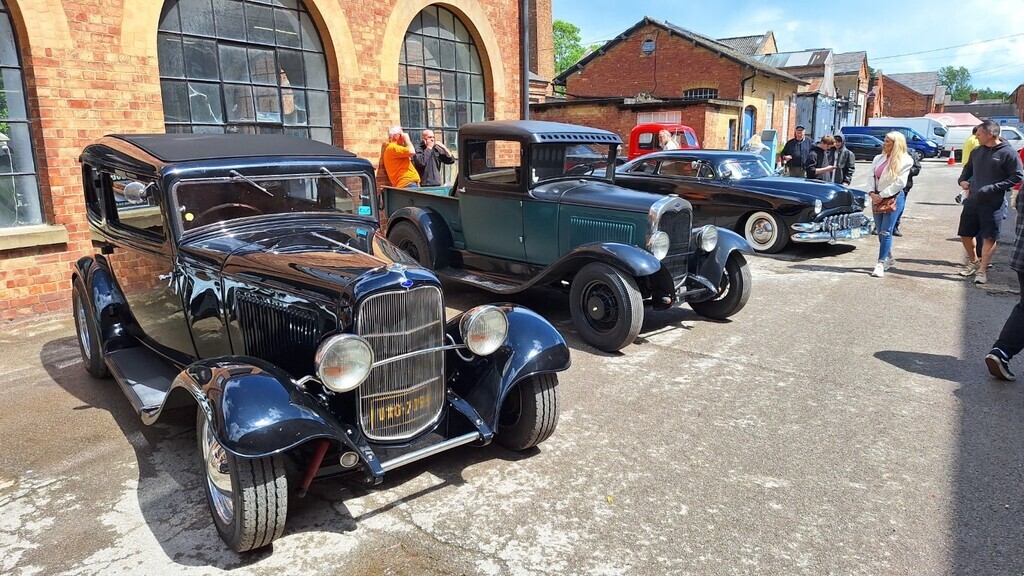
Slight side digression of the thread here, but I know people like to read stuff so I'll add it in anyway.
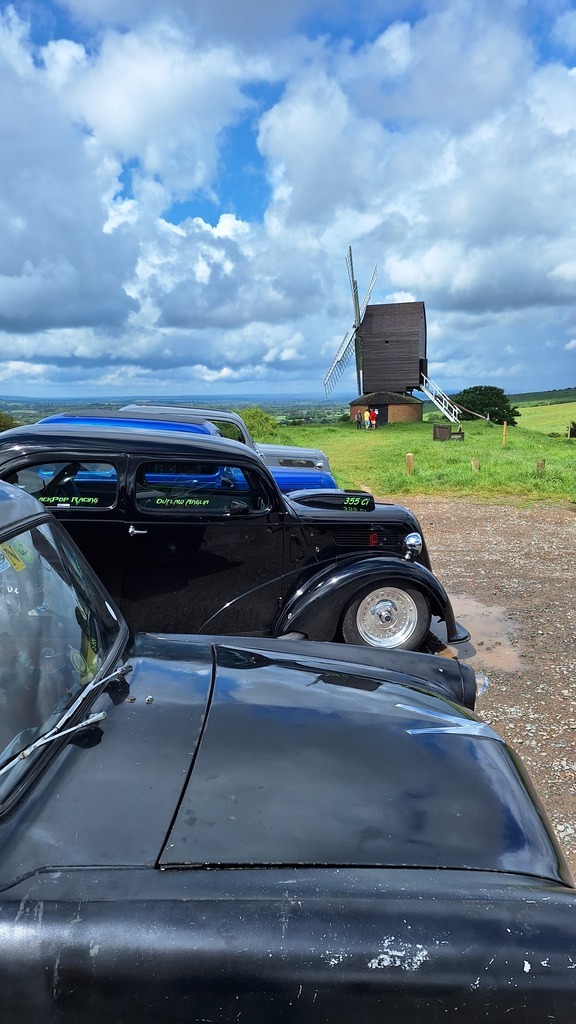
Back from the Berkshire Rumble on Sunday (170 mile round trip). Some of it a bit wet, but overall mostly dry and a good day.
A few photos from the trip;

Once I got home I got mrs Blackpop to move the shifter lever while I watched under the car, the new rod is flexing, so that is the issue. I've ordered some 8mm rod ends and will make a new linkage with 10mm tube and try to keep it as straight as possible.
I've done a bit of research on the Rover shifter - I've ordered a new ball cup to take the slop out of it and when I dismantled Andy's one Car SOS had packed it out with washers to stop the safety detents from working, so it could be put in any gear just by knocking the shifter.
This means it would have been possible for andy to knock it into reverse or park while driving down the road, a quick way of grenading the gearbox and possibly crashing the car.
I've freed up the mechanism and with a new press button knob fitted it will have the safety lock back - you can only shift gears by depressing the safety knob. A friend with mills & lathes had offered any machining required, so I've asked if he can make a new shifter knob for us.
Every man dies, not every man really lives.
http://www.hotrodphotos.co.uk My Intro My Ride
http://www.case-design.co.uk
 Posting Permissions

 Reply With Quote