i think rally design keep those caliper bolts mark.
neil.


i think rally design keep those caliper bolts mark.
neil.
They are metric ones though Neil. Hubs are mk5 cortina. I can only find the unf bolts.
https://www.ebay.co.uk/itm/390890516...xoCV-8QAvD_BwE
Sent from my SM-A515F using NSRA mobile app
Is Mark looking for metric bolts John,it states 7/16 in the full description of those,also Mk1 Escort which I fairly sure were not metric.Originally Posted by jsf55

I would have thought any decent nut/bolt stockists would have high tensile metric shoulder bolts.
It's not what i searched for. Later mk3s will be the ones. I was looking to get the proper tab set up
Sent from my SM-A515F using NSRA mobile app
I wonder if the calipers have been drilled out ? Or are they stock cortina ones ? In which case the should be
M12 x 1.75, 10.9 which is a stock bolt but it's getting the shoulder the right length
Sent from my SM-A515F using NSRA mobile app
I don't think the length of the shoulder is too crucial,if so the std Cortina bolt would be compromised due to the use of spacers anyway.Assuming it was still long enough.
I assume the car has a rear end too, worked on by the same hack shop?
Dont believe I've ever seen 'shoulder bolts' , or at least what I understand them to be, used on calipers. Are you referring to part threaded bolts?
Chris
Sent from my SM-A750FN using NSRA mobile app
Bumper sticker - This is an historic vehicle and only has three speeds....... if you don't like this one you sure as hell won't like the others.
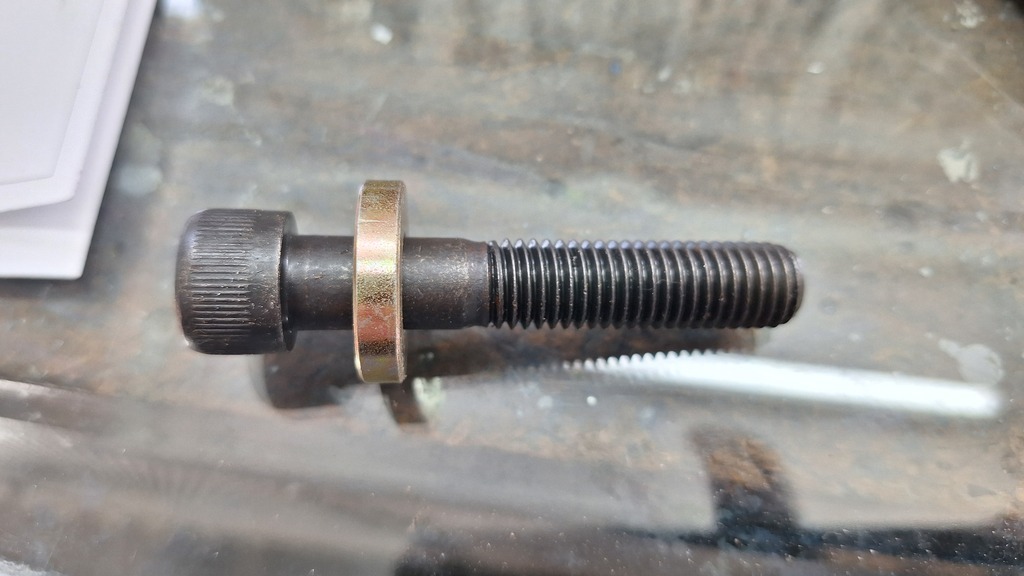
A shoulder bolt as it is called has a stepped down threaded area with a plain body. A bolt has an unthreaded section of a similar size too the thread a 'set screw' or screw is fully threaded
Sent from my SM-A515F using NSRA mobile app
I went along with 'shoulder' bolt to avoid getting at cross purposes as it was used by Mark .
A bolt has thread and a shank or shoulder you may say.
A set pin has thread all the way
Or set screw ,bolt,etc, whatever your religion.
Last edited by Captain Scarlet; 20-04-24 at 10:03 AM.
A chart
Sent from my SM-A515F using NSRA mobile app
I only came on too see how the funding had gone
gofund.me/b8edcbd8
Sent from my SM-A515F using NSRA mobile app
A 'shoulder' bolt as on that chart would not be on a Cortina,it would be a bolt.
That's clear that up
Looks to continue to be going well! I could be wrong but the target appears to have changed but is exceeded anyway, not that that is any reason to stop, especially as the job list gets bigger, as it just has! Don't want the car to bolt off onto the (hard) shoulder. I thank you!
Chris
Sent from my SM-A750FN using NSRA mobile app
Last edited by Happydaze; 20-04-24 at 11:30 AM.
Bumper sticker - This is an historic vehicle and only has three speeds....... if you don't like this one you sure as hell won't like the others.

These do a range of Metric shouldered bolts.
https://www.cromwell.co.uk/shop/fast...crews/c/231502
You can all relax now, correct bolts have been sourcedThey will need a bit of trimming down.

Last edited by Blackpopracing; 21-08-25 at 07:23 PM.
Every man dies, not every man really lives.
http://www.hotrodphotos.co.uk My Intro My Ride
http://www.case-design.co.uk
Chris, yes I increased to amount to cover the donations as it would be really good to not have to use the small amount that Kim & Andy scraped together. I'm hoping it might total £2000 by the time I shut it down in a few days.
In the meantime, the rear window of the car is very cloudy (car sos broke the original one) and I've tried everything to clear it - including my glass polishing kit but to no avail. Does anyone have a good condition clear window for sale, or advice as to where I might get one from?
Every man dies, not every man really lives.
http://www.hotrodphotos.co.uk My Intro My Ride
http://www.case-design.co.uk
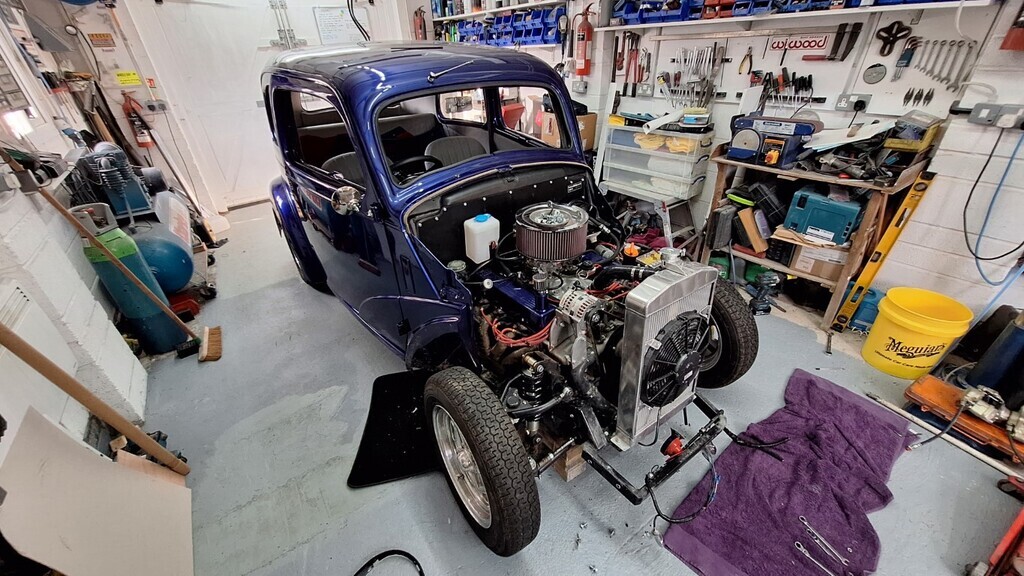
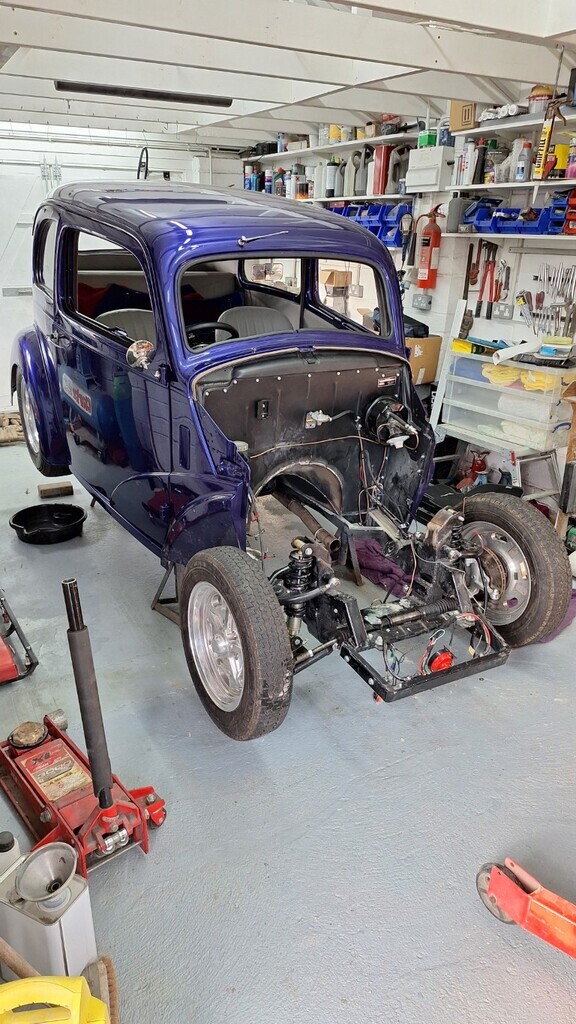
Today saw a start of remedying the issues on the car.
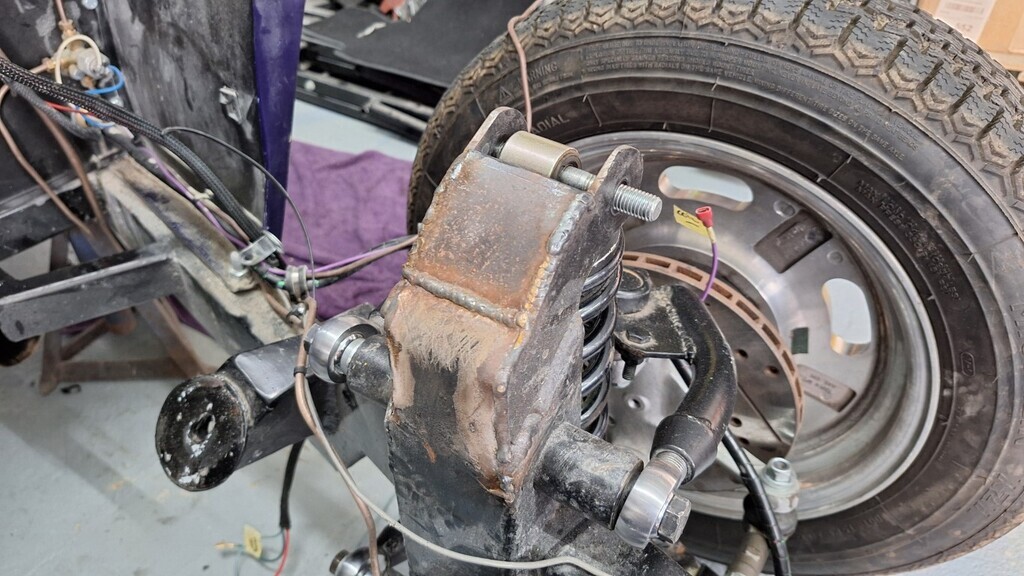
I have reassembled the front suspension & steering to check the heights ready for taking measurements for the new crossmember.
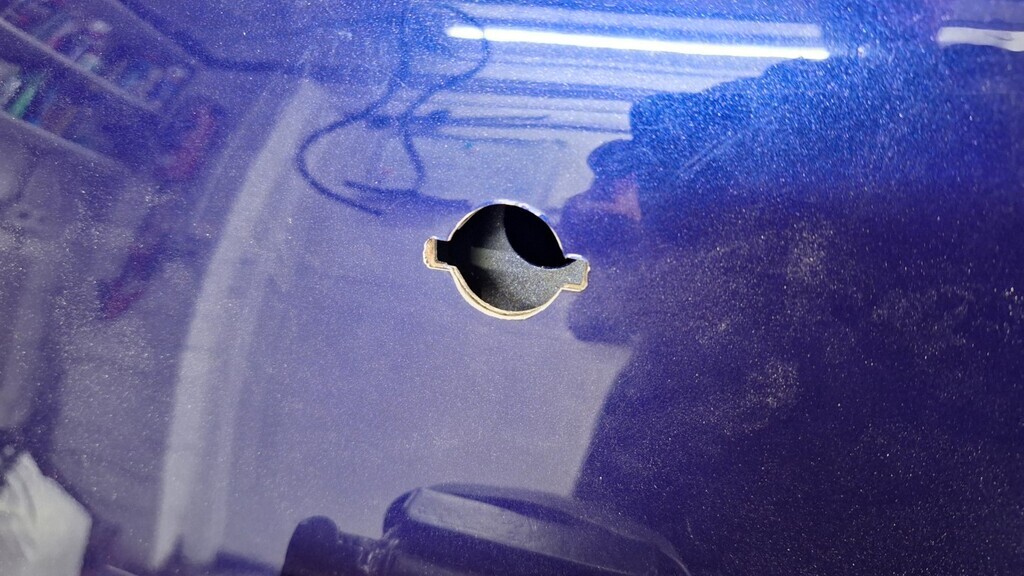
I did a couple of smaller jobs after that, Andy had bought a boot handle (all it had was the escutchion cover for putting a square peg T handle through which is not really practical for Andy with his limited hand movements) so this was a little win.
I started by carefully opening up the lock hole with a step drill and then with a dremel & a file adding the slots for the lock tangs;
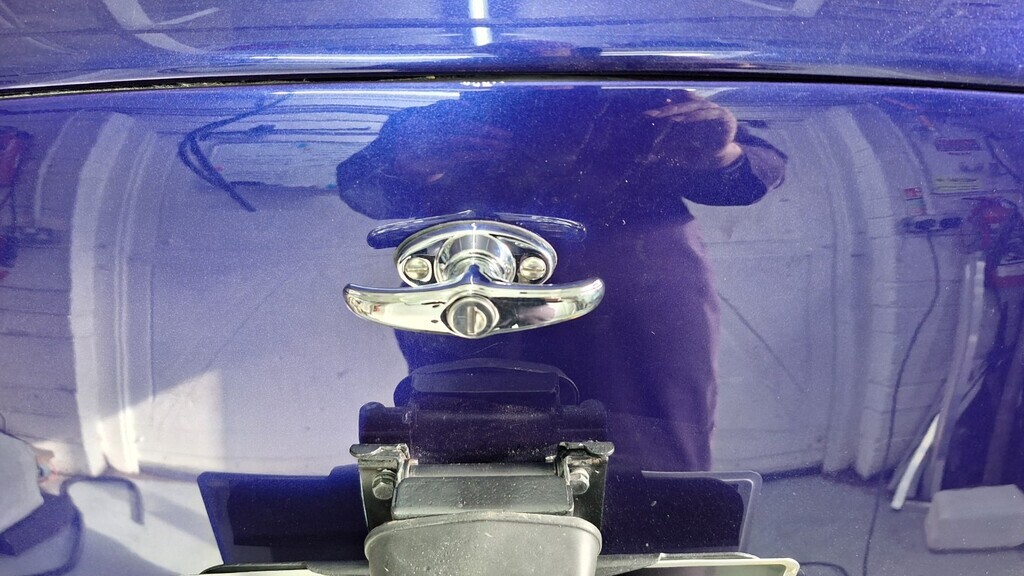
The bootlid was then marked for the screws.
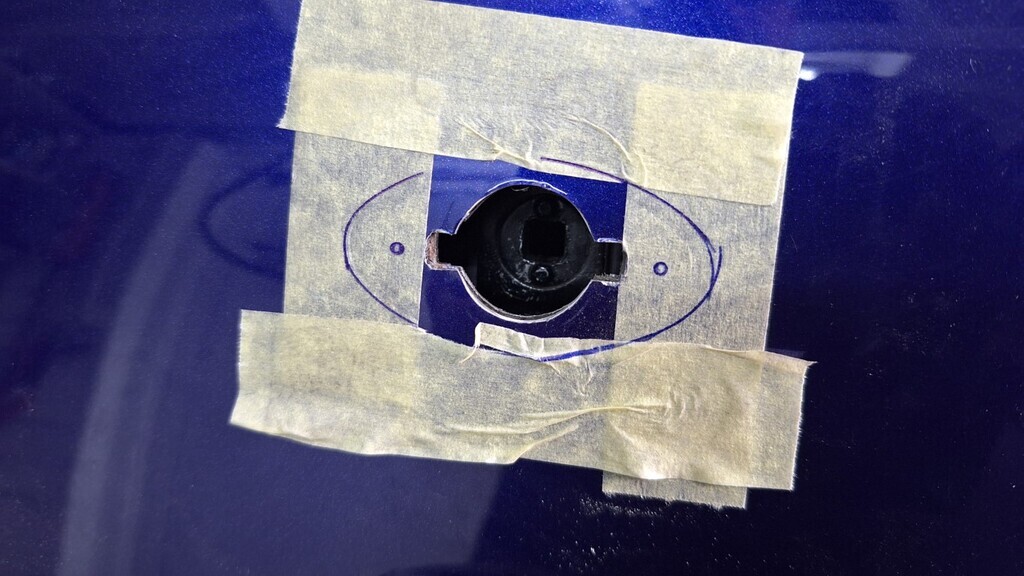
The bootlid was then tapped for M5 threads (it has a thick reinforcing plate inside) and the lock fitted. I'll need to paint all the raw edges to finish but otherwise it's done.
I did spend an hour stripping & rebuilding the drivers door lock handle as the key often jams, it's much improved but does rely on the door handle being in the right place to work smoothly - no photos of that though.
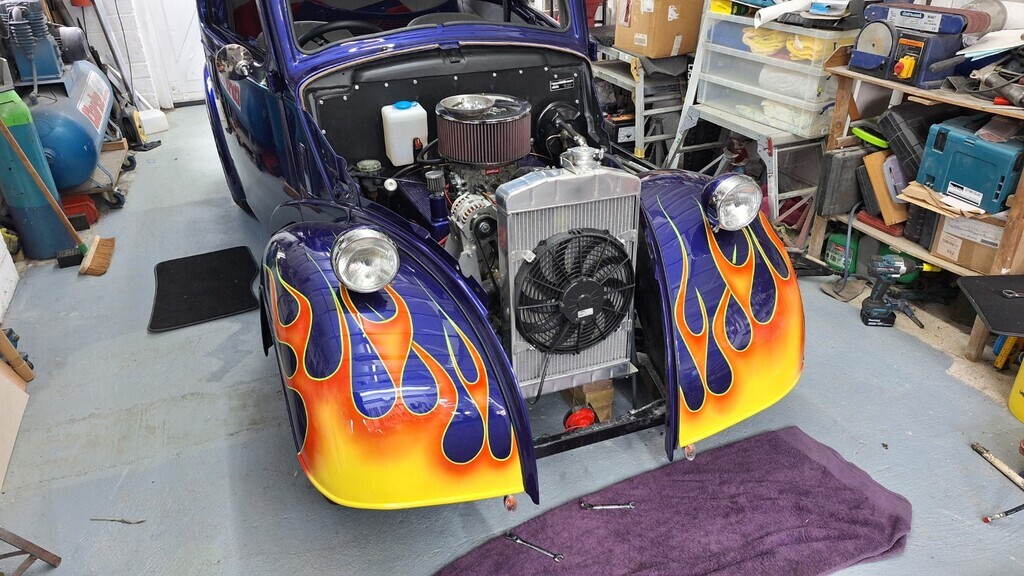
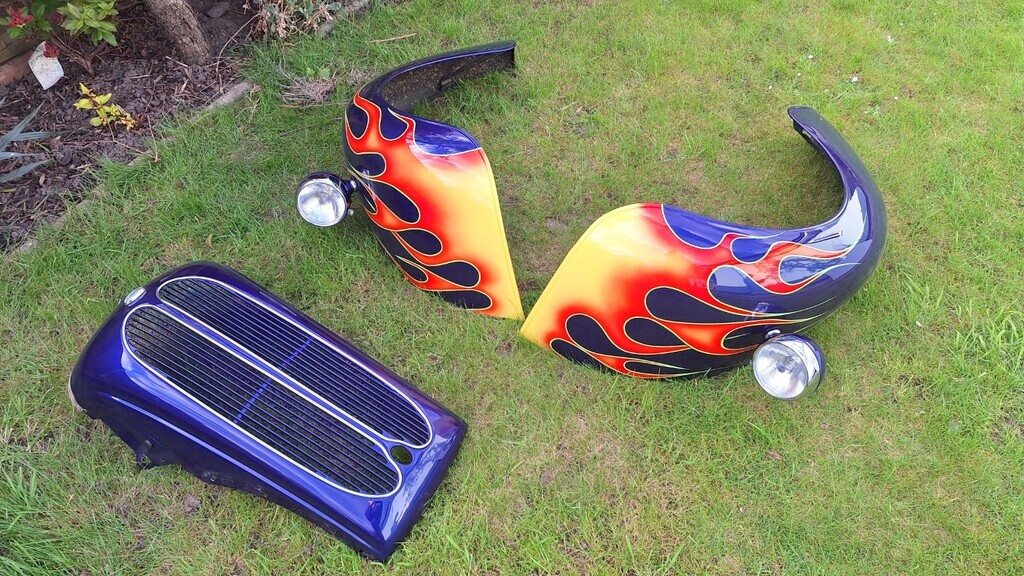
Then it was on to strip down time, the nose was removed first,
And then the inner & outer wings;
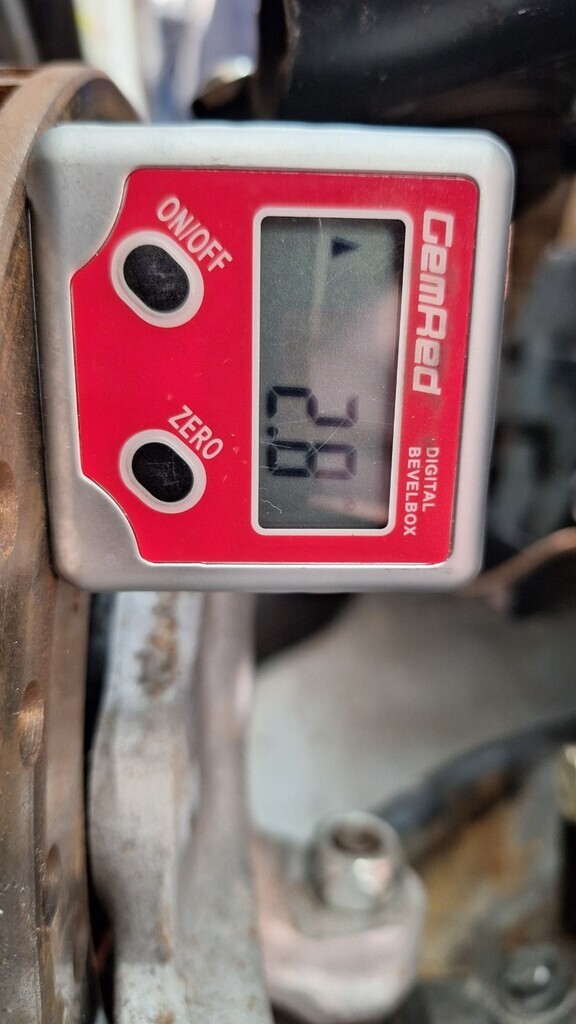
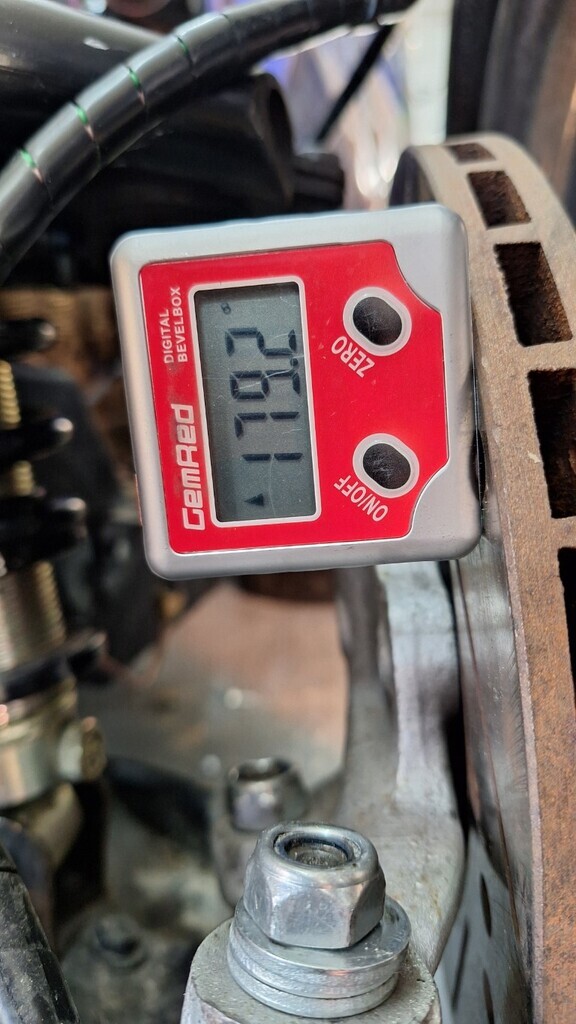
I thought I'd check the camber now the wings were off, drivers side here;
and passenger side;
I'm taking my car out to a local meet tomorrow, but will start on the radiator & engine removal tomorrow afternoon.
Last edited by Blackpopracing; 21-08-25 at 07:27 PM.
Every man dies, not every man really lives.
http://www.hotrodphotos.co.uk My Intro My Ride
http://www.case-design.co.uk
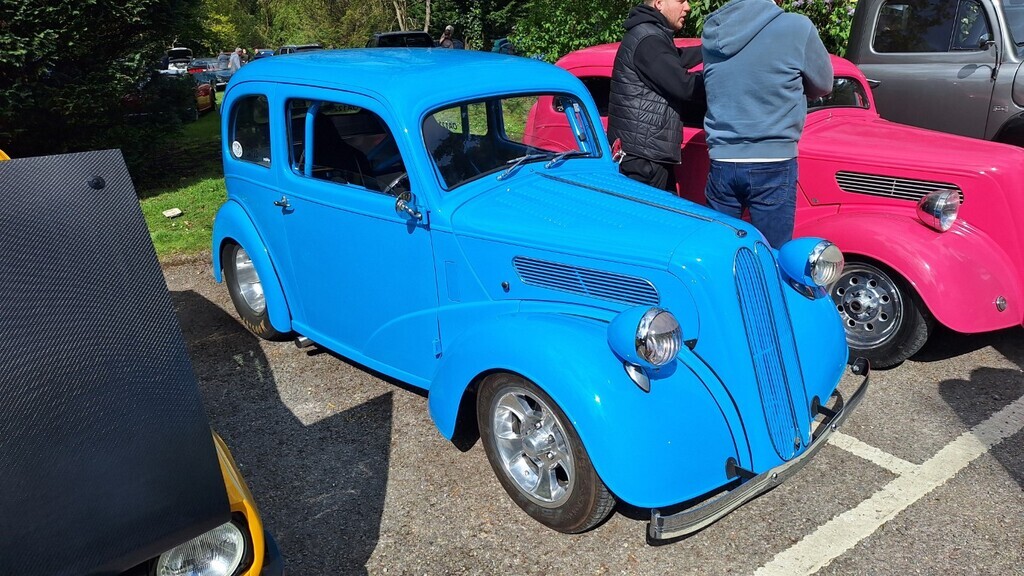
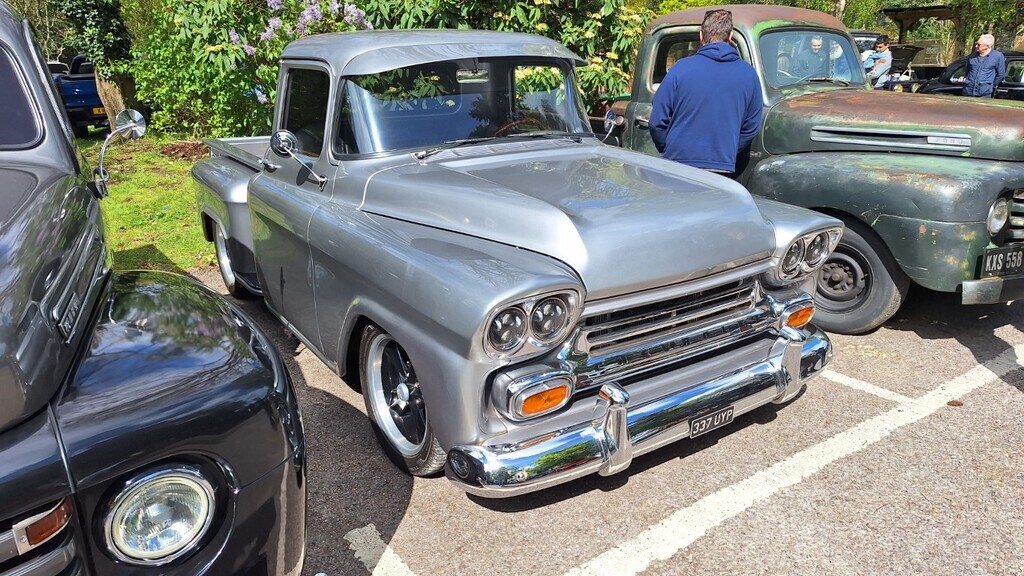
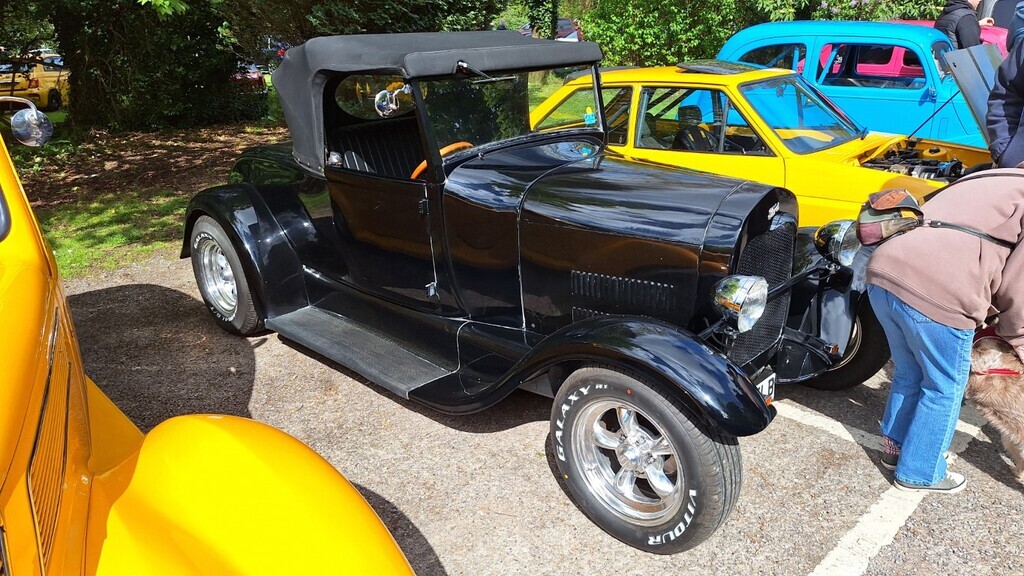
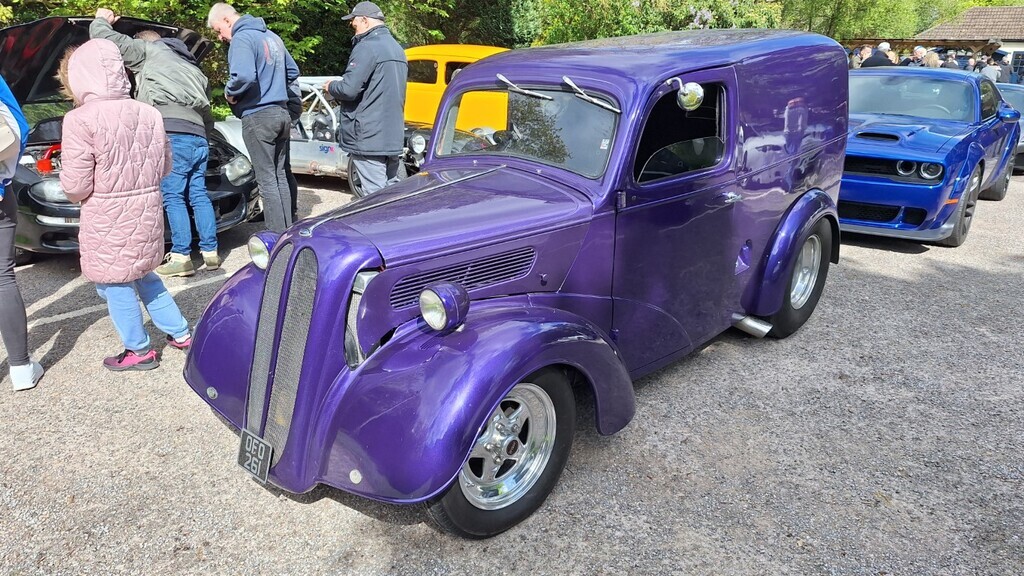
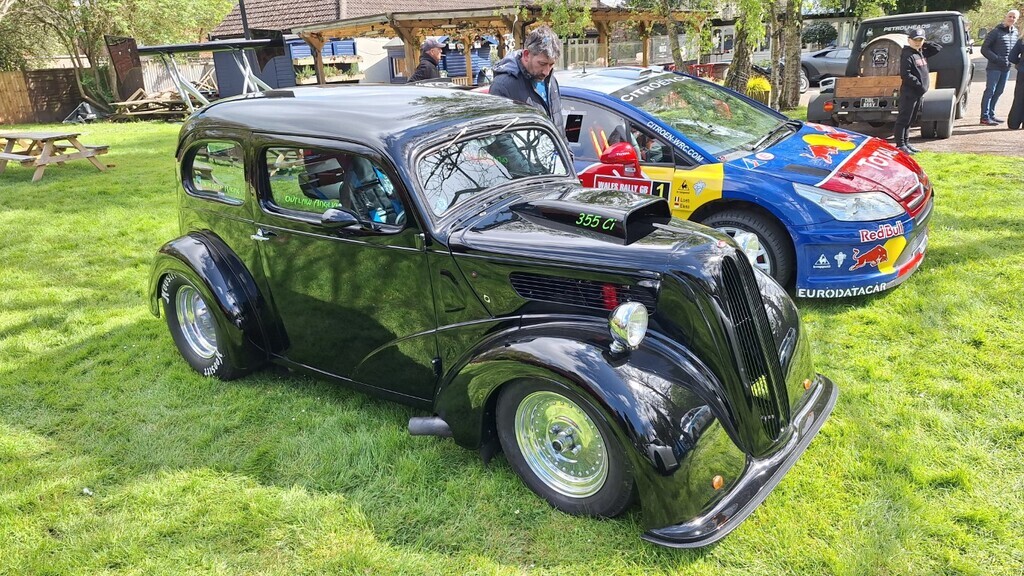
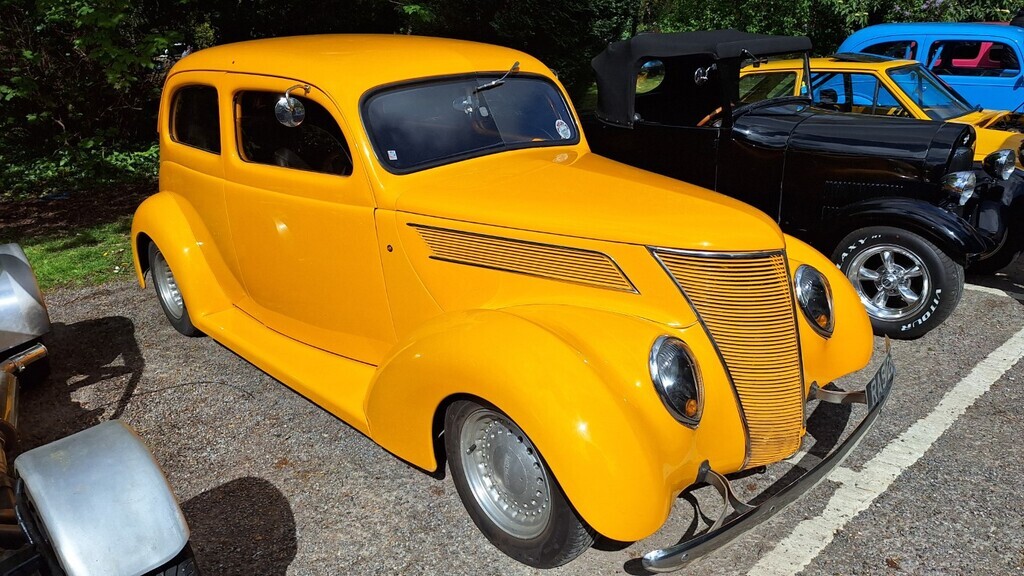
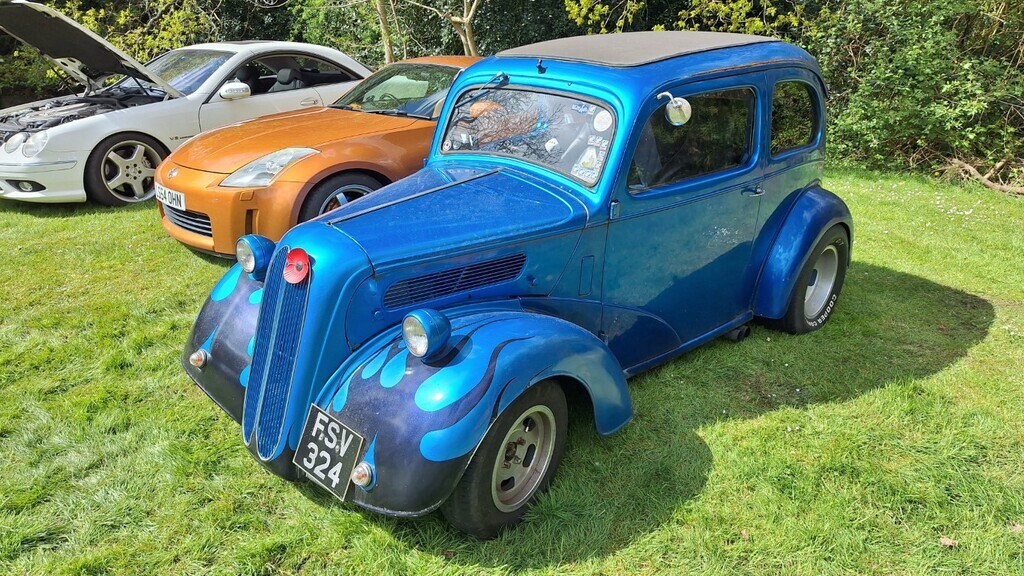
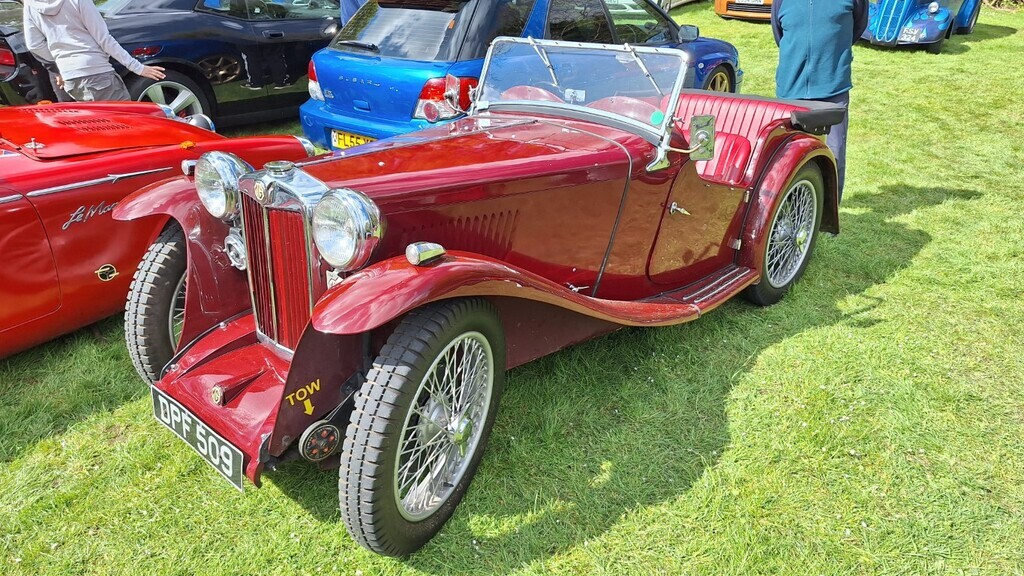
I went out to a local coffee meet this morning, pretty busy with a lot of varied cars.
Just a few of which I took photos of;

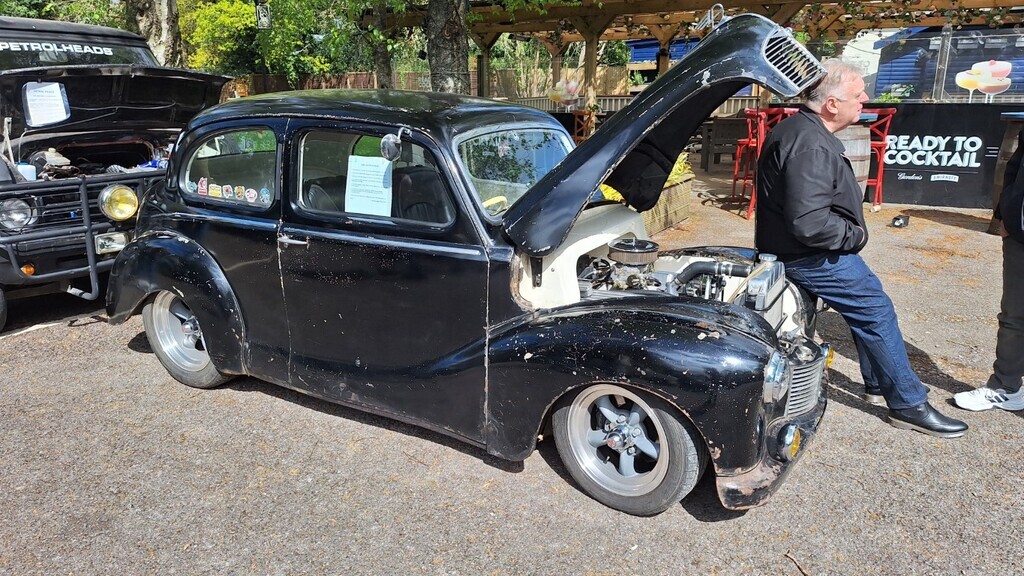
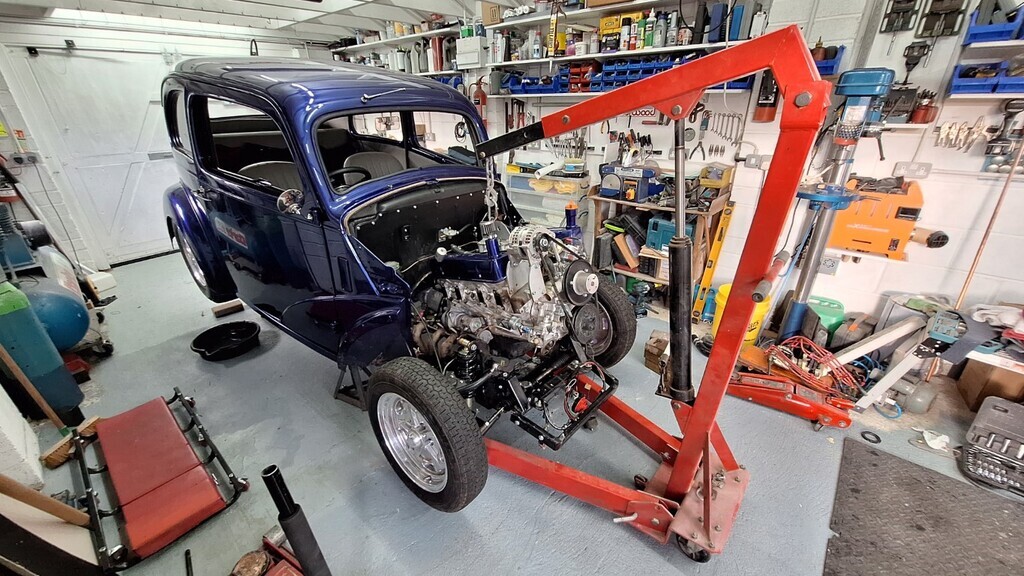
After a spot of lunch and a snooze, lol (I'm getting old ha-ha!) I went out and started on Andy's pop.
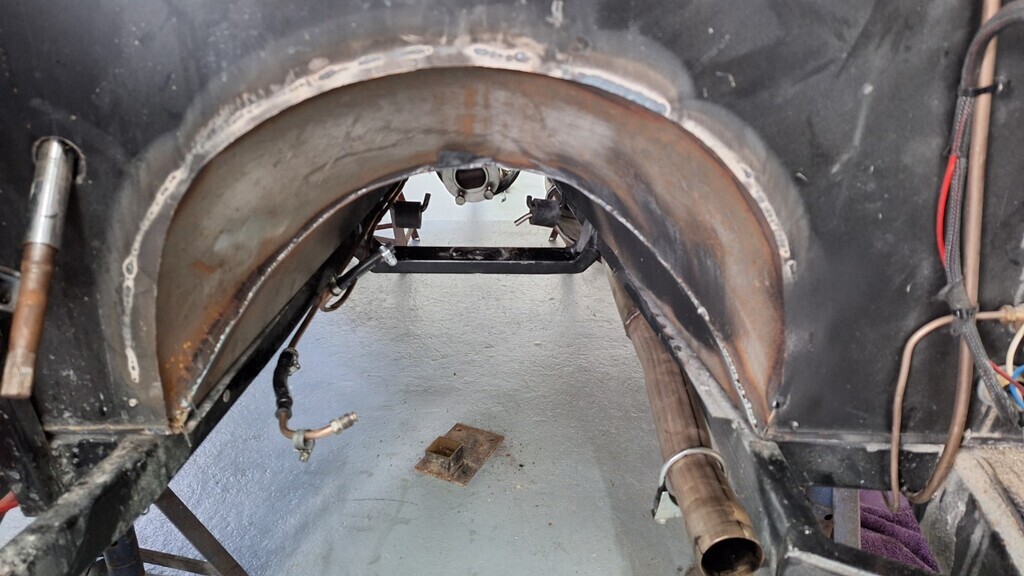
With the headers undone and the propshaft removed and all of the wires/pipes/hoses undone it was time for engine removal.
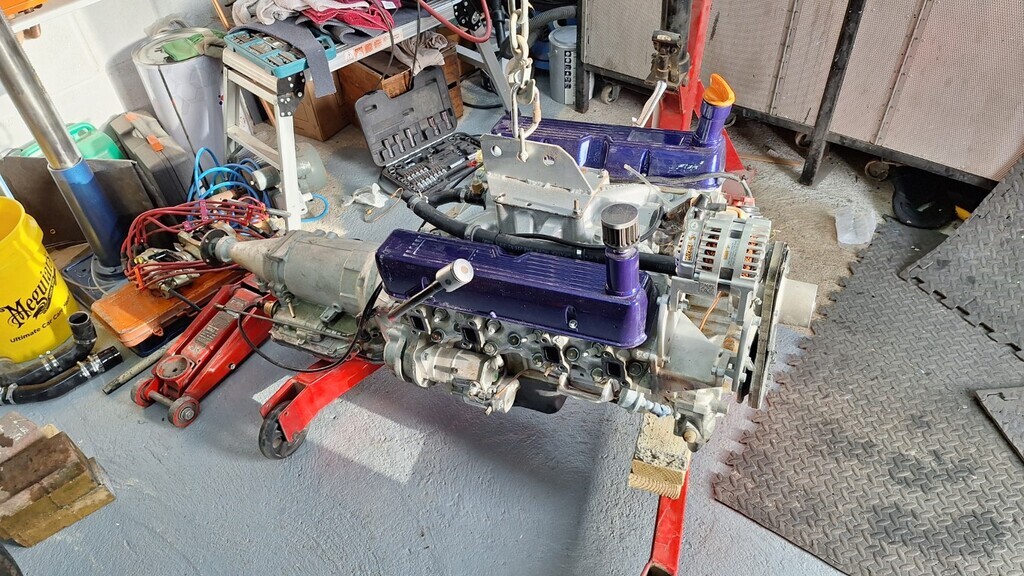
And shortly after that it was out.
A few minor horrors were uncovered, engine mount bolts only finger tight! fuel lines through chassis are rubbing as the grommets were not fitted in the holes, loose brake lines where they had all fallen out of their clips (not bent correctly to fit the clips) Brake line across rear axle unsecured as well.
I think I'll be replacing the brake lines as well;
No paint on the crossmember;
No paint on the gearbox tunnel;
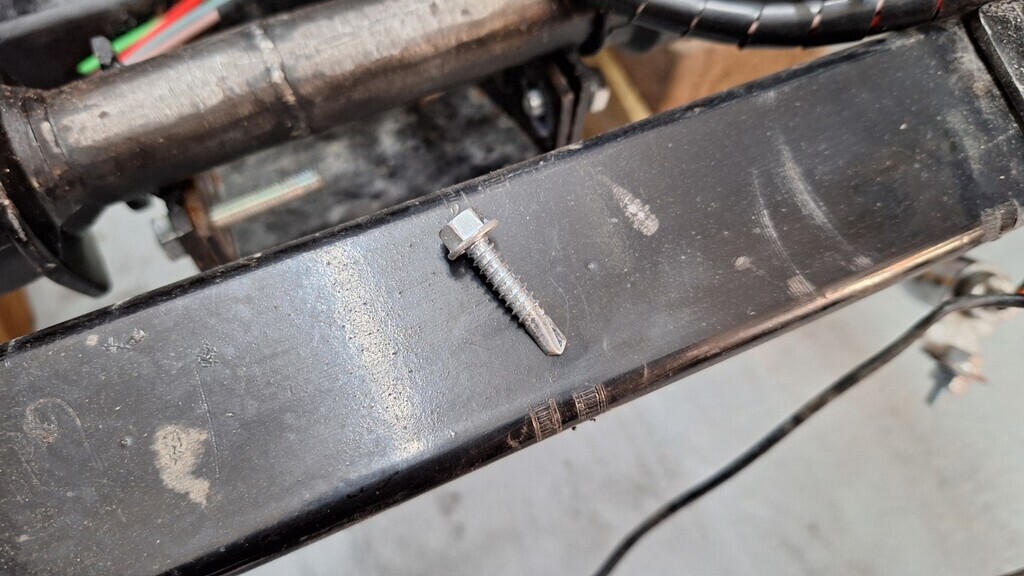
A self drilling screw for the engine to chassis earth strap
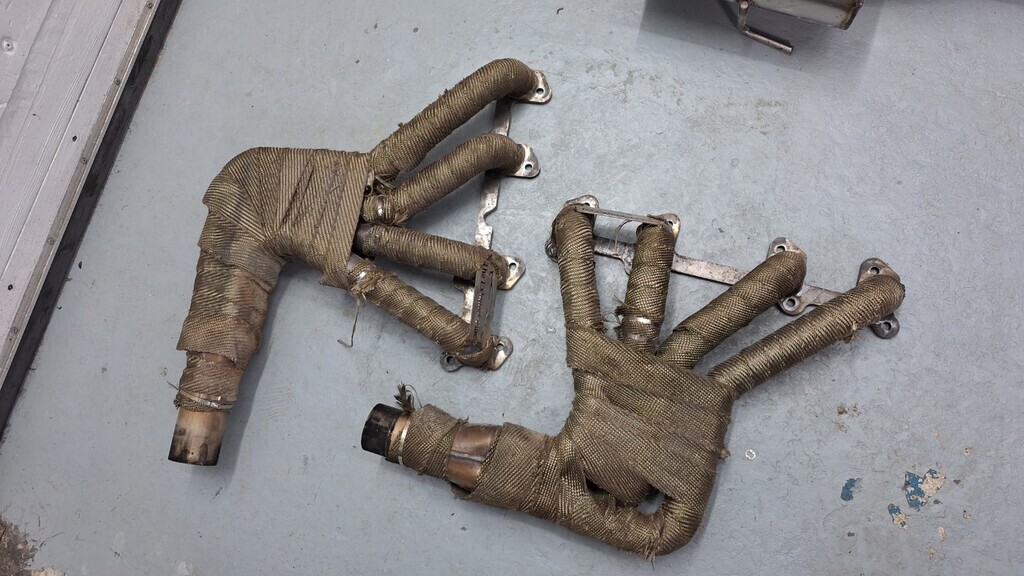
And really poorly wrapped headers - I'll re-do these as well. They are nicely made stainless headers though, except you have to take the engine out to remove them.......
[img]https://www.rodsnsods.co.uk/attachments/32b160ebb662-jpg.649383/?auto=webp&fit=bounds&format=pjgp&height=1920&opti mize=high&width=1920[/img]
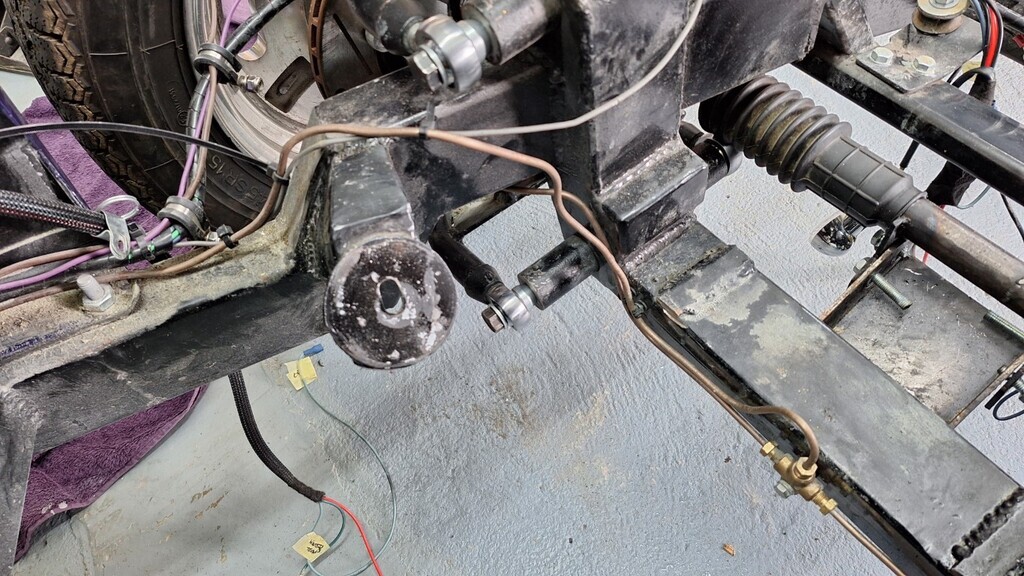
And a close up of the reason the steering was so tight - you can see how far out the fixing is here, the bearing is now where it needs to be for smooth operation.
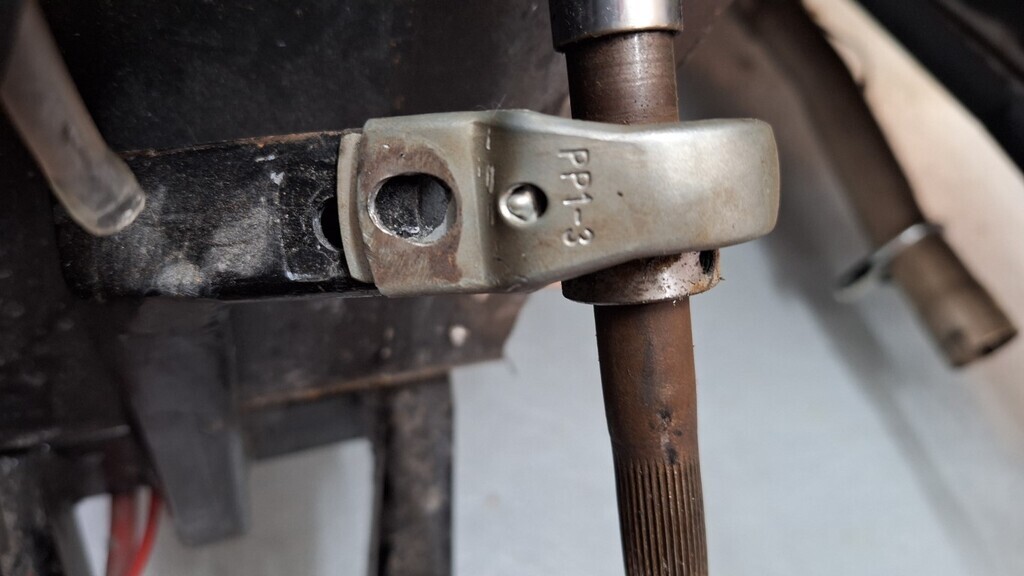
I loosely put the steering back together, and with the bearing unattached so it runs freely the steering is nice and easy to operate now (although the weight if the engine is missing obviously).
Looking under the car it has a very nice chassis and the rear suspension looks to be well built. The front suspension originally was probably well built as well (they bought a rolling chassis & body for the restoration) it's just where it's been butchered by someone working for the show that's ruined it.
Last edited by Blackpopracing; 21-08-25 at 07:53 PM.
Every man dies, not every man really lives.
http://www.hotrodphotos.co.uk My Intro My Ride
http://www.case-design.co.uk

It's quite disturbing to see what you're unearthing Mark, looks like you got to it just in time mate.
Cheers Tim W
Sent from my M2103K19G using NSRA mobile app
 Posting Permissions

 Reply With Quote